SM Megamenu 1.9.x is an upward trend for web design especially e-commerce stores. If your site involves a variety of products, a number of categories, Mega Menu is what you have to put in to consideration. The reason is that Mega Menu offers an effective way to improve website usability and navigation!
It takes your customers fewer clicks, thus, saves their time to get to where they really want. Using this module it can be possible for you to display not only category list but also special products, banners or contact form, etc.
This guide will help you install SM Megamenu extension step by step.
1COMPATIBLE WITH MAGENTO
2INSTALLATION – Back to top
2.1 Extension Installation
There are two ways to install extension:
- Step 1: Download and unzip extension contents on your computer and navigate inside the extracted folder.
- Step 2: Upload folders skin, js, lib, media and app from our download package to the root of your Magento site on your server.
- Step 3: Login your Magento Admin
- Step 4: Navigate to System => Configuration => find SM Megamenu module to configure this module

- Step 5: You will see installed extension, click extension’s name tab to go to extension configuration page.
OR you also install the steps as following:
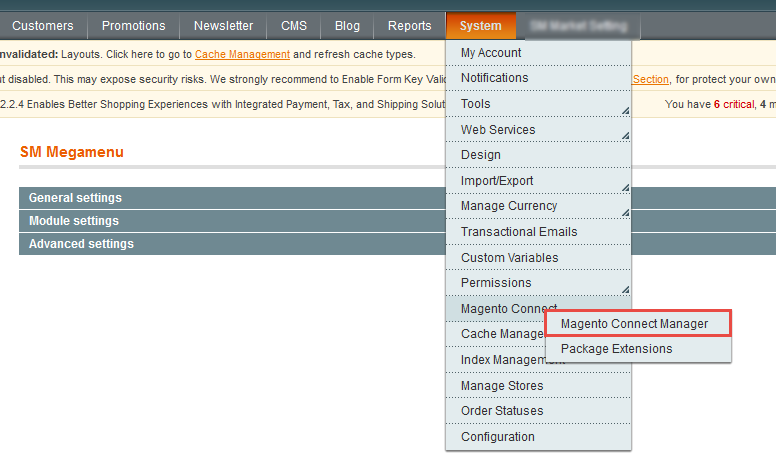
Step 1: In the Administrator page, Navigate to System >> Magento Connect >> Magento Connect Management
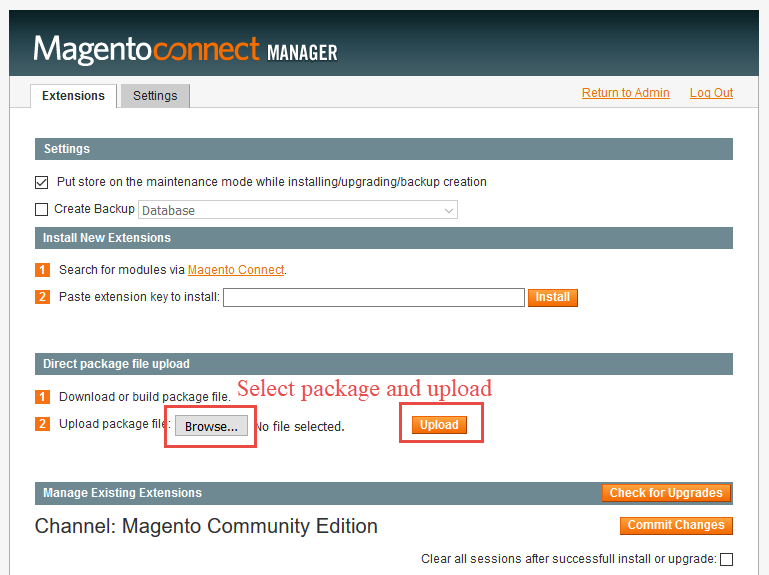
Step 2: Click Browse and Upload package file
Important Note:
- After installing extension, you should logout first and then login Admin Panel to ensure all functions work normally.
- You should disable all caches in cache management in the installation and configuration process.
3EXTENSION CONFIGURATION – Back to top
3.1 Layout Demo
3.2 Setup
Note: We used the images of module’s installtion on Magento 1.9.x to illustrate
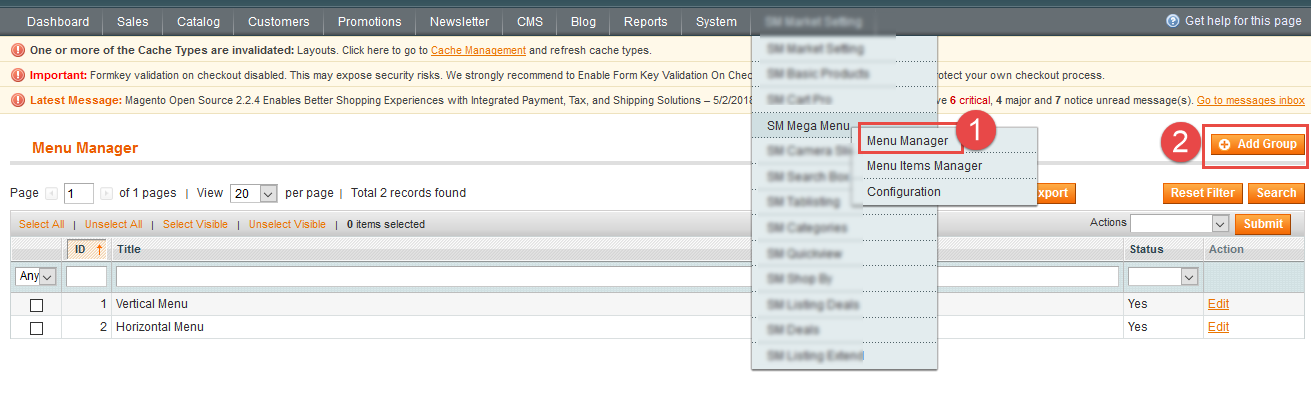
After installing, log in to Admin Panel, go to SM Mega Menu then create list Menu Items. The following guide is step by step to create list Menu Items for your menu:
Go to SM Megamenu -> Menu Manager -> Add Group
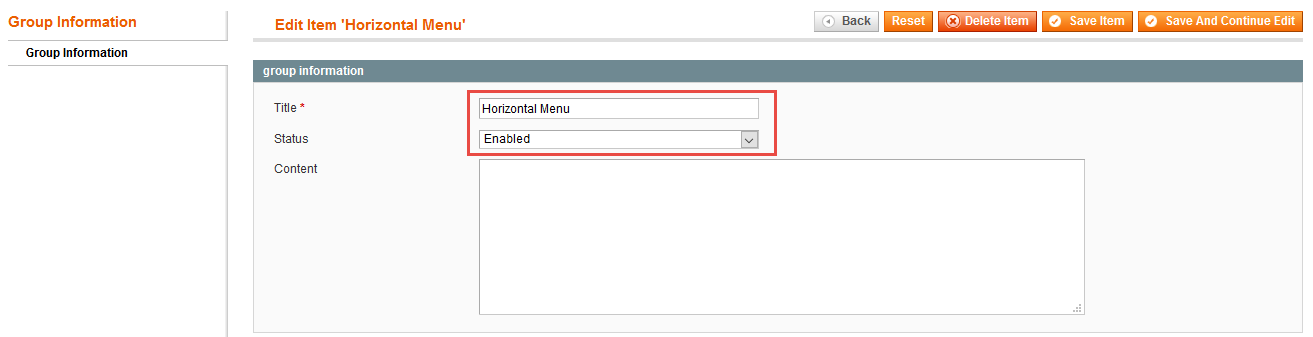
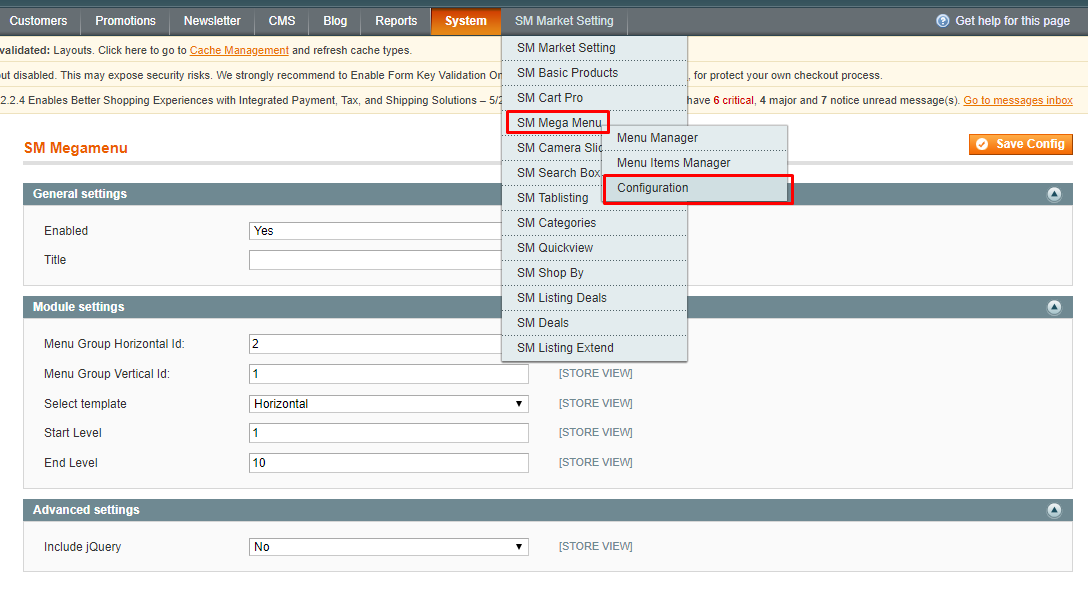
In the Administrator Page, navigate to Stores -> Settings -> Configuration and find SM Megamenu to configure.
Let’s look at the parameter in detail:
 General Settings
- Enabled : Enable or disable the module displaying on Frontend area.
- Title : Enter title of module.
Module Settings
- Menu Group Id: Enter menu group id that you created step 1.
- Select Template: We support 2 templates for presenting of menu (Horizontal and Vertical)
- Select Effect: We support effects for Mega menu (CSS/Animation/Toggle).
- Start Level: Level to start rendering the Menu at
- End Level: Level to end rendering the Menu at
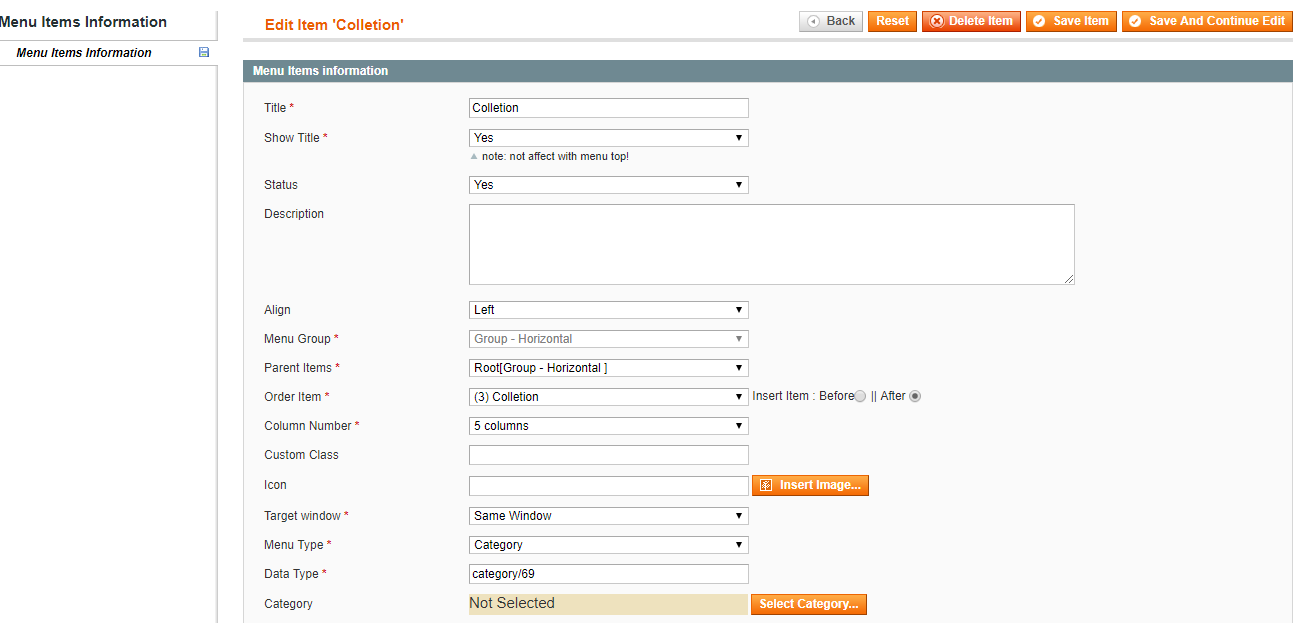
To create menu items, In the Admin Panel go to SM Mega Menu -> Menu Items Manager-> Add Item
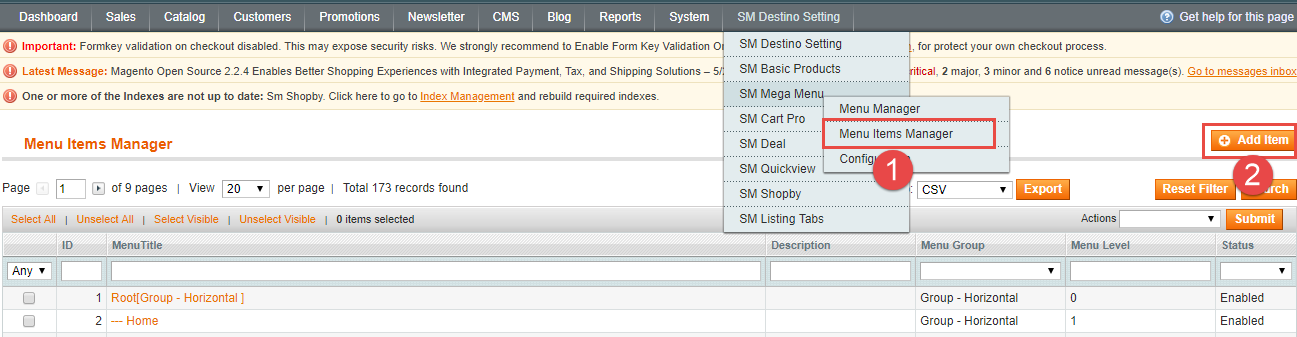
Example:
55. SUPPORT
Thank you so much for using this module, your support is truly appreciated. If you have any questions that are beyond the scope of this document, please feel free to contact us via our Support Tickets System