This document is for SM Sport Magento Version 2.4.x
Firstly, a huge thanks for purchasing this theme, your support is truly appreciated!
This document covers the installation and use of this theme, reveals some answers to common problems and issues. We encourage you to read throughout this document if you are experiencing any difficulties. If you have any questions that are beyond the scope of document, please feel free to contact us via our Support Tickets System.
Note: This theme has versions for Magento 1.9.x, 2.1.x and Magento 2.2.x.
| Version | Userguide |
|---|---|
| SM Sport Magento Version 1.9.x | Please click Here to view |
| SM Sport Magento Version 2.2.x | Please click Here to view |
| SM Sport Magento Version 2.4.x | Please click Here to view |
1 SYSTEM REQUIREMENT
At the basic level, this theme will require the following conditions:
2INSTALLATION
As of Magento 2.4.0, MySQL is no longer used for search. You must use Elasticsearch. Magento supports Elasticsearch 7.6.x.
(Magento no longer supports Elasticsearch 2.x, 5.x, and 6.x.)
There are two ways to install a Magento Theme:
- Quickstart Installation: Suitable if you have your first installation and want to get a whole new fresh site as our Demo.
- Manual Installation (including Theme Installation): Suitable if your store is full with content that you donai??i??t want to overwrite.
2.1 Quickstart Installation:
Magentech provides SM Quickstart package for each theme which aims to ease the installation for users. If you plan to start your site from the beginning, it will help you save much time of installing and configuring. Please follow steps below:
Important: You must use the command line to install Magento 2.4+.
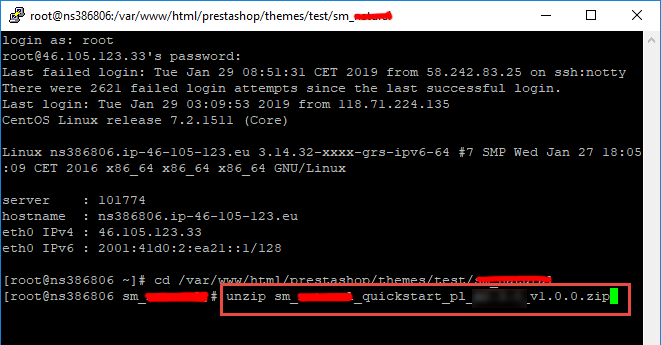
- Step 1: Download the quickstart package named as sm_sport_quickstart_pl_m2.4.0_v4.0.0
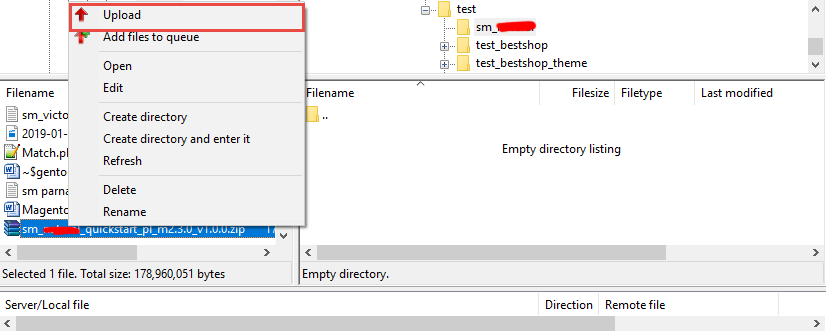
- Step 2: Upload and Extract the whole Quickstart package to your server. In Quickstart folder you will see the extracted folder that include all sample data
- Step 3: Create a Database for your Magento site
Important!
You need to remember the database name to use in the next steps

- Step 4: Import database sample_data.sql under the folder sm_sport_quickstart_pl_m2.4.0_v4.0.0\data_quickstart
Note: You can import database by run this command
mysql -u root -p database_name < sample_data.sql
Note: After that please go to folder root and run these command to permissions:chmod -R 777 pub
chmod -R 777 generated
chmod -R 777 var

- Step 5: Install Magento
This example assumes that the Magento install directory is named
sm_sport, the db-host is on the same machine (localhost), and that the db-name, db-user, and db-password are allmagento:php bin/magento setup:install --base-url=http://192.168.1.220/ytc_templates/magento/sm_sport --base-url-secure=https://192.168.1.220/ytc_templates/magento/sm_sport --db-host=localhost --db-name=magento --db-user=magento --db-password=magento --admin-firstname=admin --admin-lastname=admin --admin-email=admin@admin.com --admin-user=admin --admin-password=admin123 --language=en_US --currency=USD --timezone=America/Chicago --use-rewrites=1 --backend-frontname="admin" --search-engine=elasticsearch7 --elasticsearch-index-prefix=sport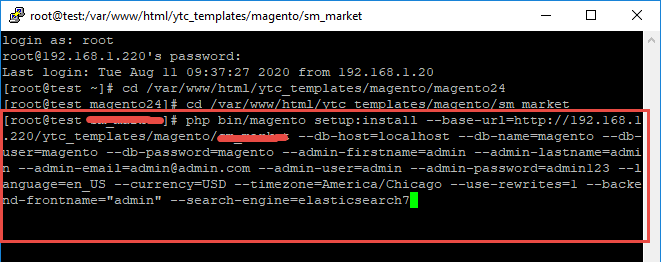
Messages similar to the following display to indicate a successful installation:
Post installation file permissions check...
For security, remove write permissions from these directories: '/var/www/html/ytc_templates/magento/sm_sport/app/etc'
[Progress: 274 / 274] [SUCCESS]: Magento installation complete.
[SUCCESS]: Admin Panel URI: /admin_puu71qNote: You can customize the Admin URI with the
--backend-frontnameoption. However, we recommend omitting this option and allowing the installation command to automatically generate a random URI. A random URI is harder for hackers or malicious software to exploit. The URI displays in your console when installation is complete. - Step 6: Can't login to admin panel
When you login to admin will be display like this image:
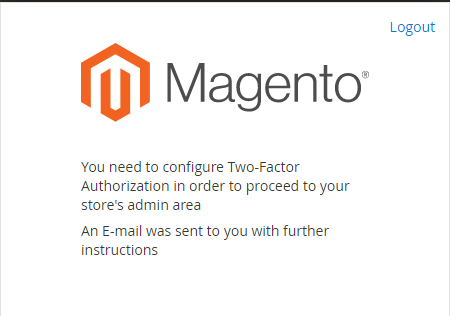
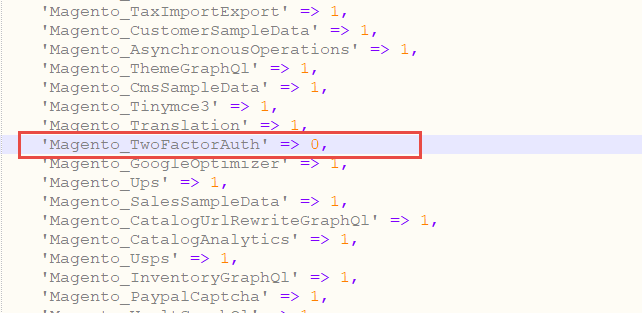
Please open file
app/etc/config.phpand change 'Magento_TwoFactorAuth' => 1 to 'Magento_TwoFactorAuth' => 0
After that run these command:php bin/magento setup:upgrade
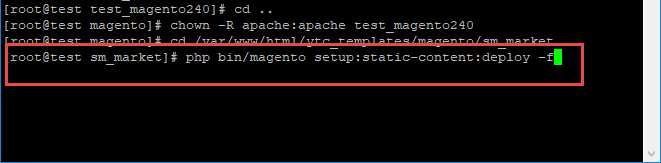
andphp bin/magento setup:static-content:deploy -f - Step 7: Finally, permissions for the following folders by run these commands:
chmod -R 777 pub
chmod -R 777 generated
chmod -R 777 var
After upload quickstart package, please extract package by this command: unzip file.zip
2.2 Manual Installation
Important!
- We recommend you to duplicate your live store on a development store and try installation on it in advance.
- Backup magento files and the store database.
It's very important to backup all of themes and extensions in Magento before installation, especially when you are working on a live server. We strongly recommend you to do not omit this step.
- Note: Manual Installation can only import CMS Page and Static Block. Products, Categories, Megamenu may not display when you use Manual Installation, you need to configure manually (by yourself >> please read documentation carefully)
- Step 1: Download Magento 2.4.x
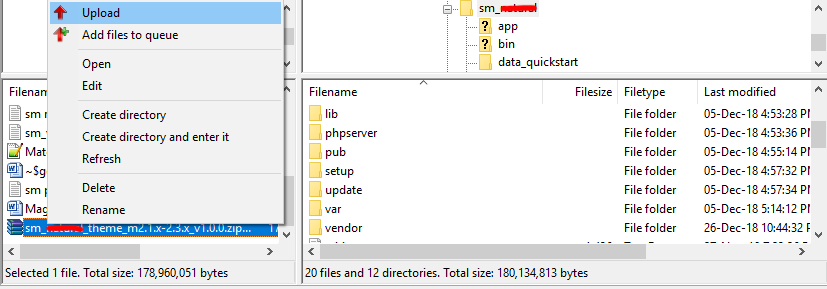
https://magento.com/tech-resources/downloadand install on your server - Step 2: Please download 'sm_sport_theme_m2.1.x-2.4.x_v4.0.0.zip' file and upload to the root of your magento site folder on your server, after that unzip by command
unzip name_file.zip.
- Step 3:
Active SM Extensions, open command line in folder root of magento and run commands via ssh using putty or othersphp bin/magento setup:upgrade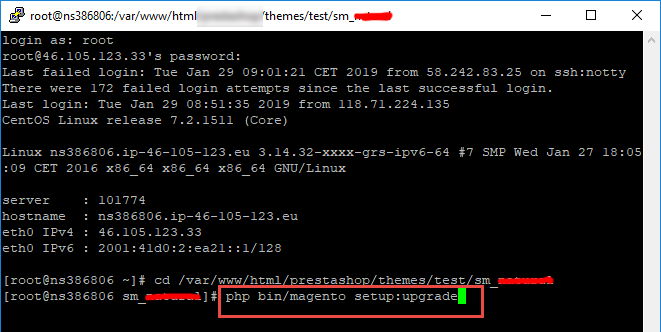
- Step 5:
Navigate to Content > Design > Configuration > Edit Default Store > Select "SM sport" theme.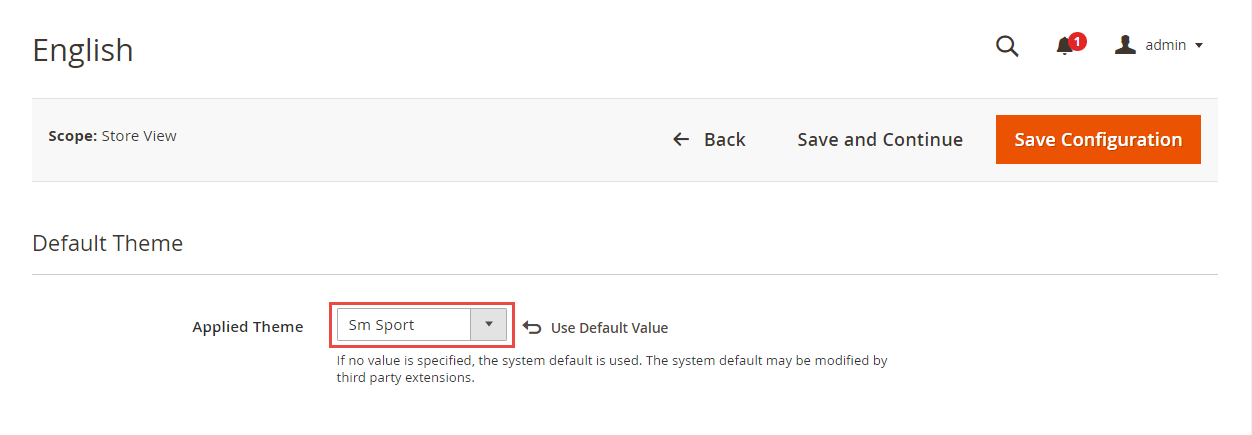
- Step 6: Click "Save Configuarion" button to save your changes.
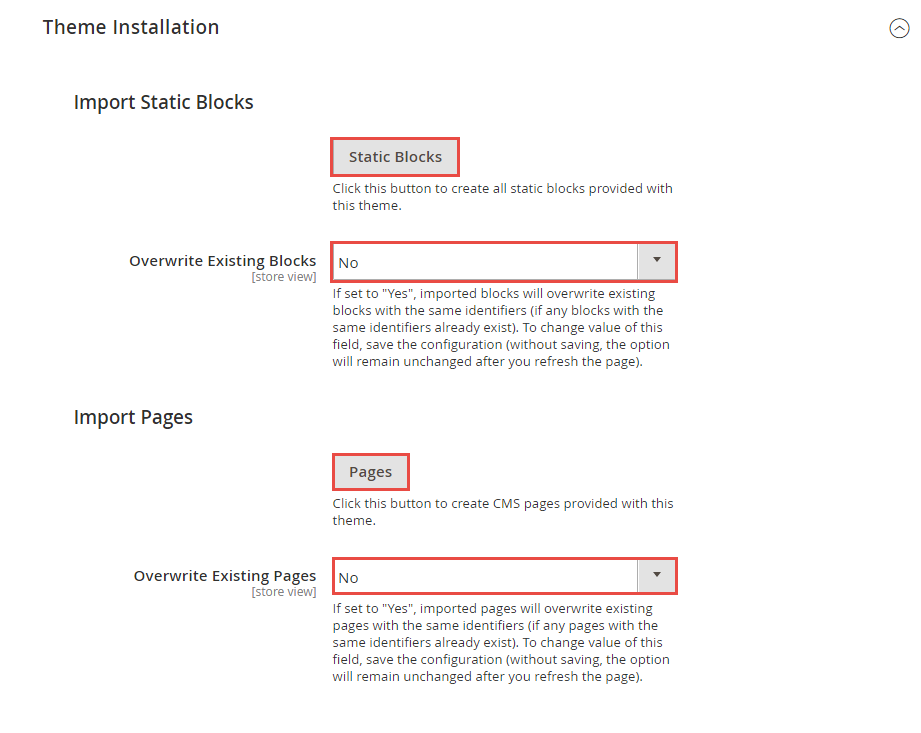
- Step 7: Navigate to Stores>> Settings>> Configuration >> MAGENTECH.COM >> Sm sport >> Theme Installation. Press the buttons named 'Static Blocks' and 'Pages' to import all default blocks and pages. Click "Save Configuarion" button to save your changes.
- Step 8: Click "Demo X" button to install demo version that you prefer to install. After that, click "Save config" button on the top.

- Step 9: Flush Cache: After successfully import your demo, save Theme Settings and Design Settings and clear the cache by using this command as php bin/magento cache:flush
in Command Prompt. Or you could go to System >> Tools >> Cache Management, click 'Flush Cache Storage' button to flush all the cache.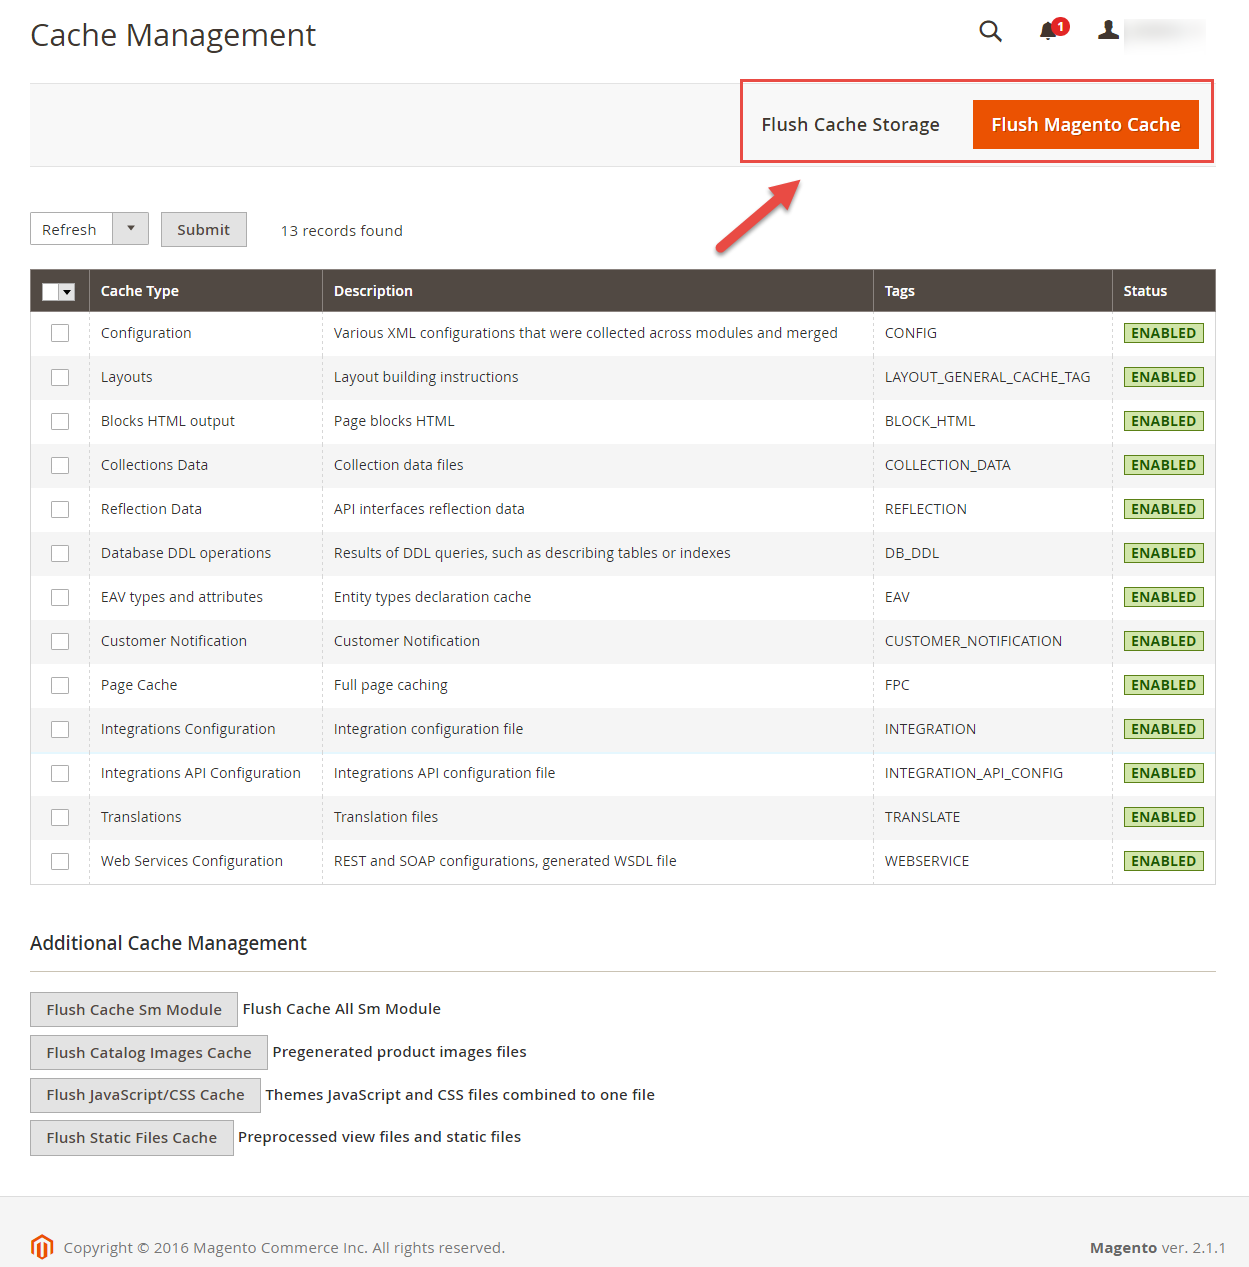
Step 4: Run deploy command: php bin/magento setup:static-content:deploy -f
chmod -R 777 pub
chmod -R 777 generated
chmod -R 777 var
Note. Please remember that: If you have imported these Static Blocks, Pages successfully, you would have all blocks and pages provided with this theme and you do not need to create any static blocks or pages manually as the following instruction of this document.
3.1 Layout Position
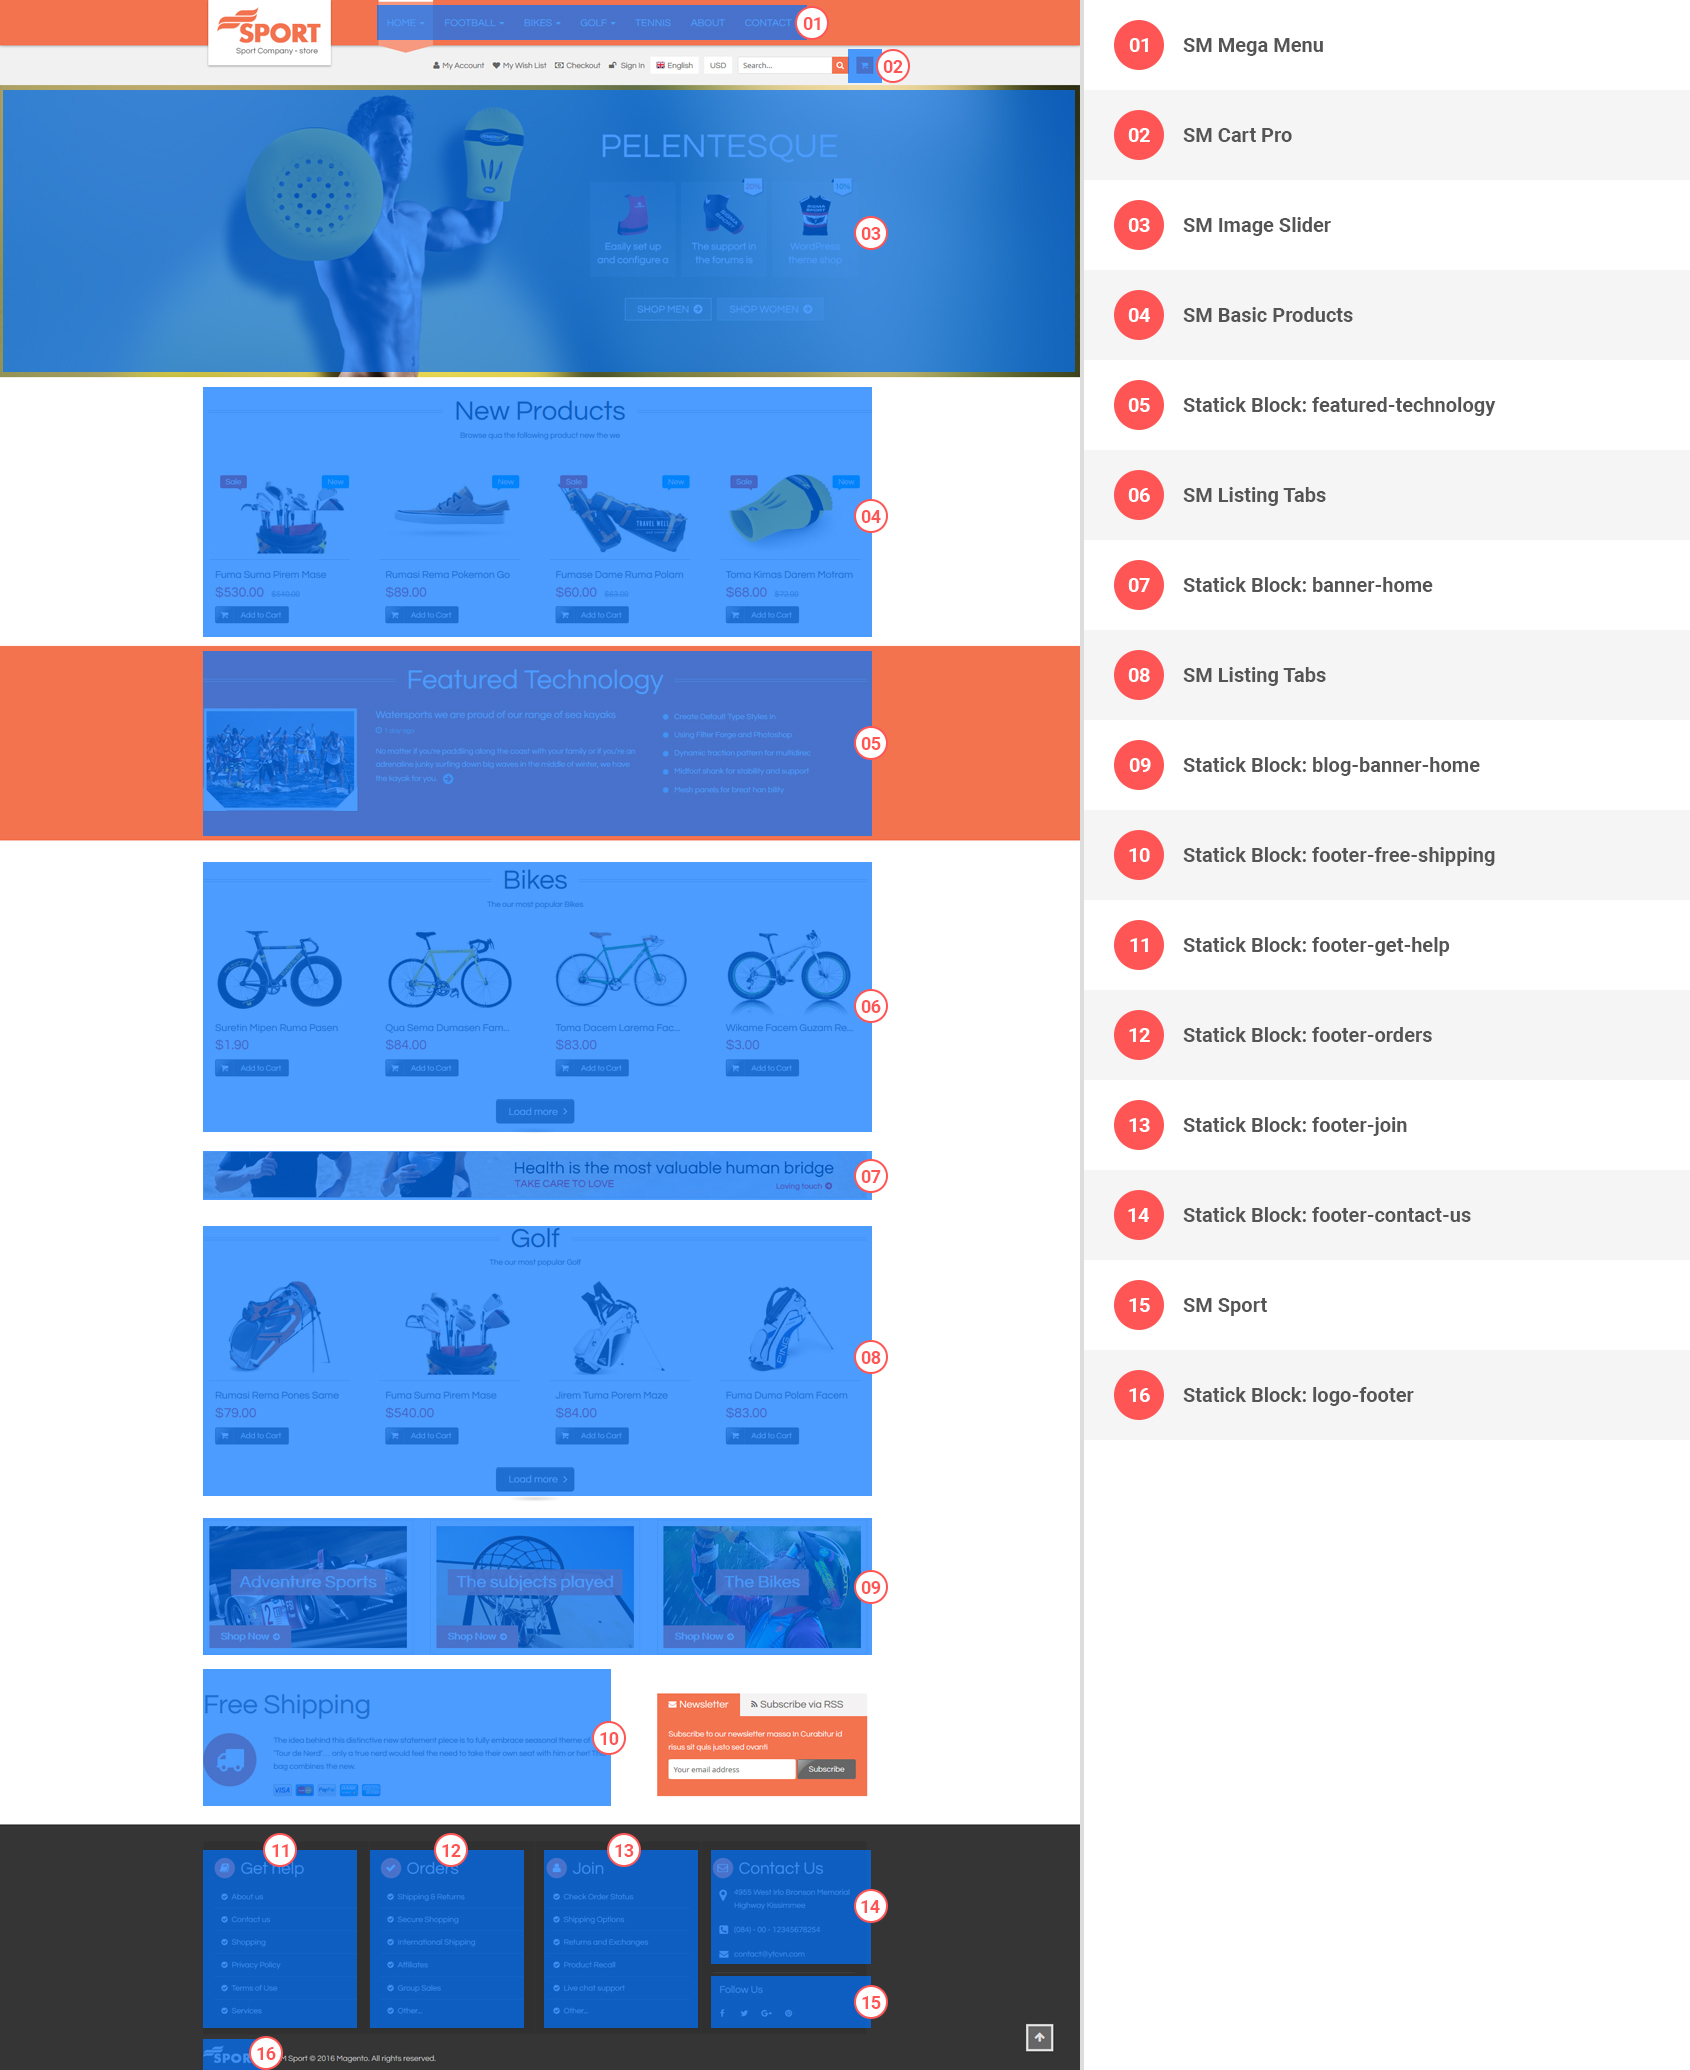
The layout of SM Sport can be illustrated as follows.
In the image, you could see how our extensions and static blocks are placed in our layouts after importing Static Blocks, Pages and Demo.
3.1.1 Home Style 1
3.2 Page Configuration
3.2.1 Set Default Page
- To configure the default home page for your store, please go to Stores>> Settings >>Configuration>>General>>Web>>Default Pages tab, select the desired page in the CMS Home Page field and save configuration.
- You need to change to the website / store view that you want to change (the dropdown menu in the upper left corner). You will probably have to create a new CMS page if you want to have something different from your default home page.
3.2.2 Edit Homepage
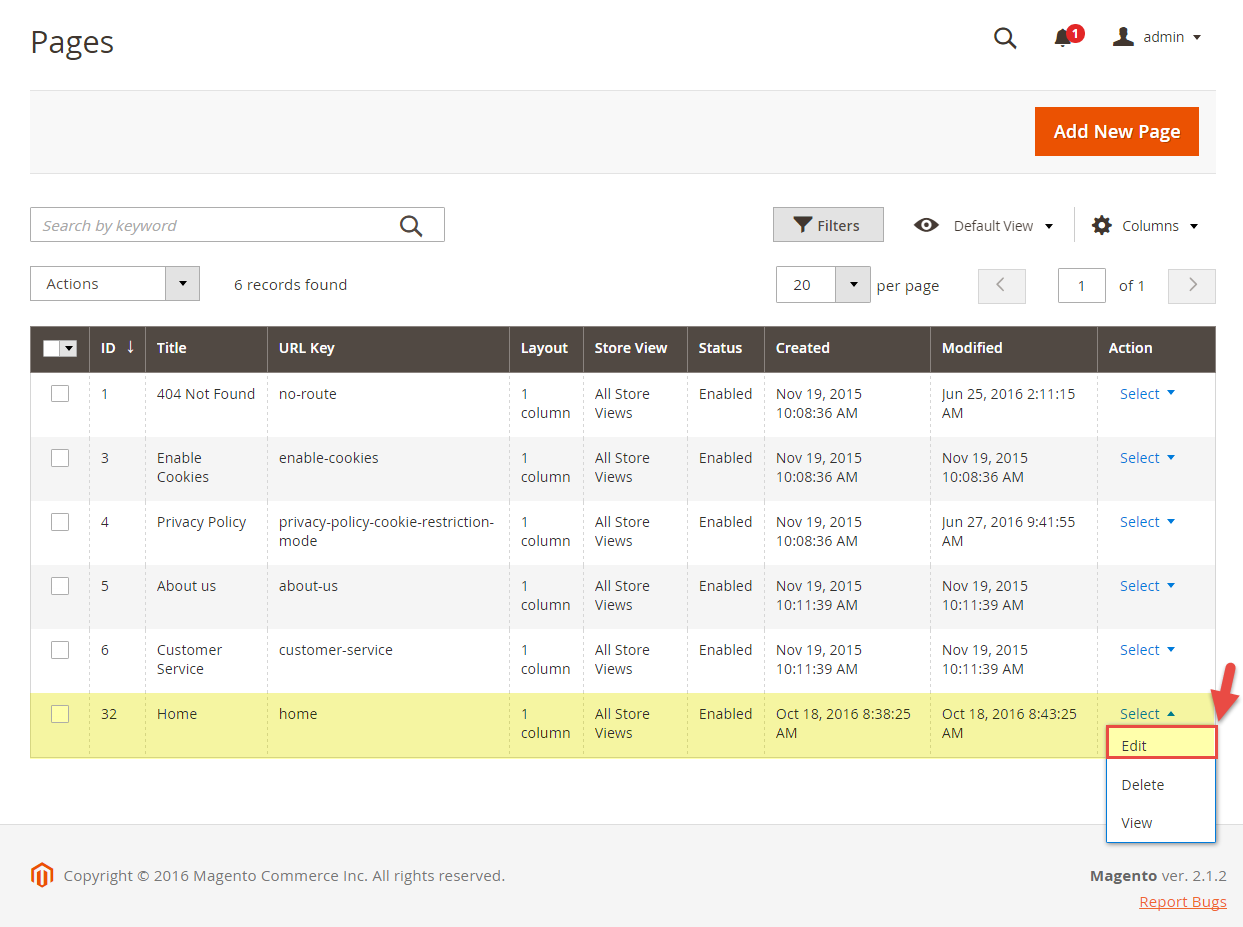
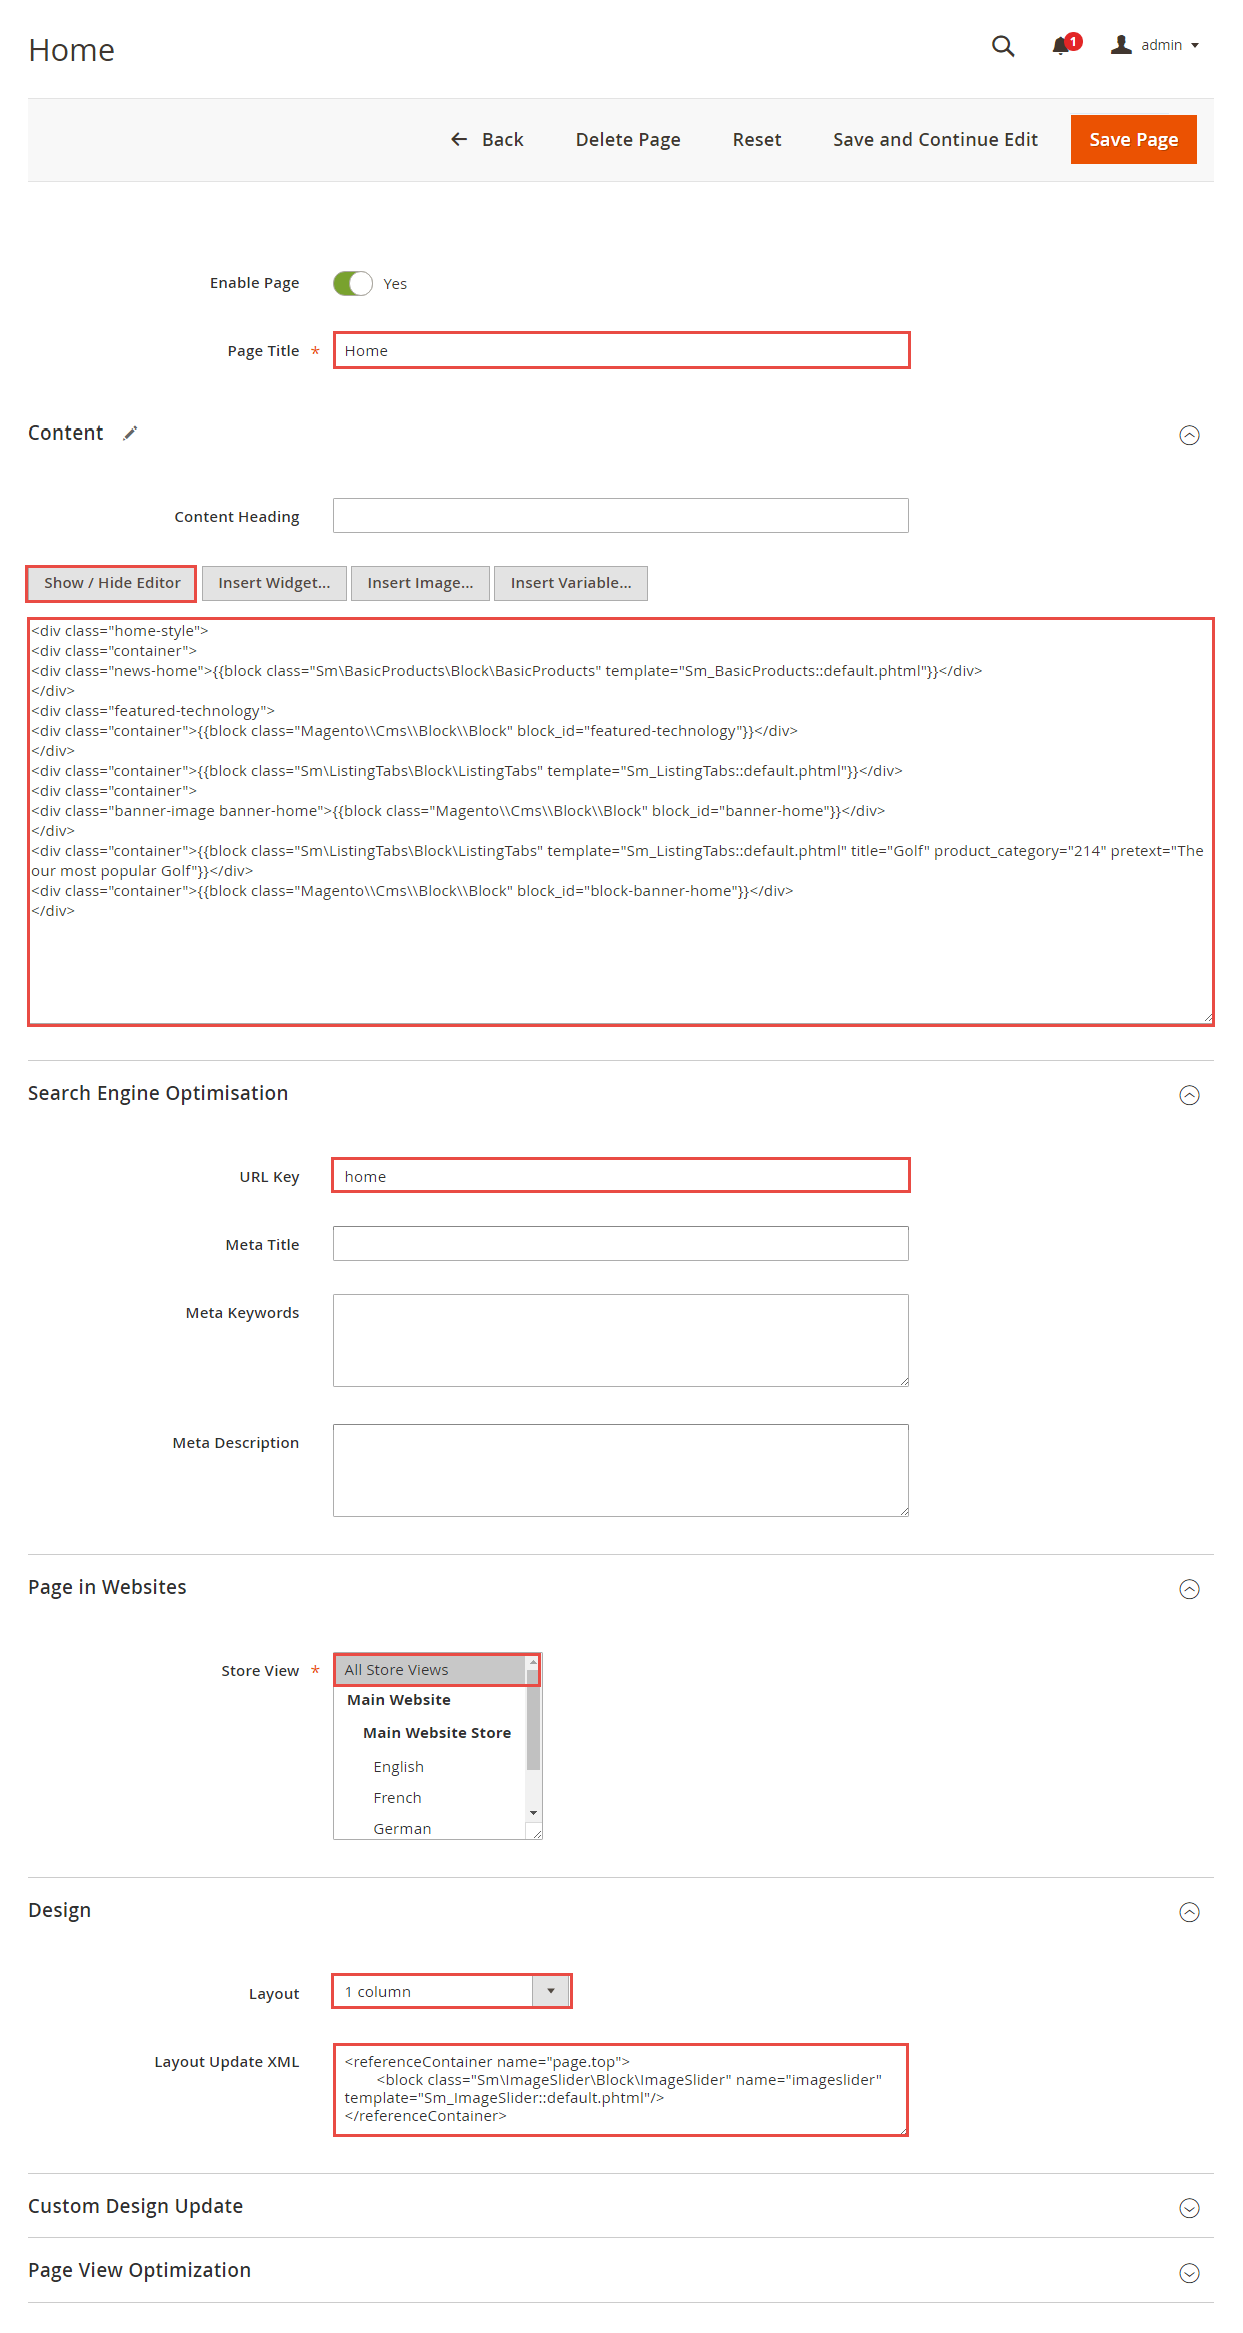
From the top menu, please select Content >> Elements >> Pages. Here you can find all the store pages that you have imported, so you don't need to add them. You only need to update the pages HTML and XML content as you wish.
- Step 1. Open any of them in order to get the access to the content.
- Step 2. Edit the content as you desire
- Step 3. Press Save Page button to save your configuration

3.3 Configure Extensions
3.3.1 List of extensions
The SM Sport front-page has been integrated with the extensions in the following list:
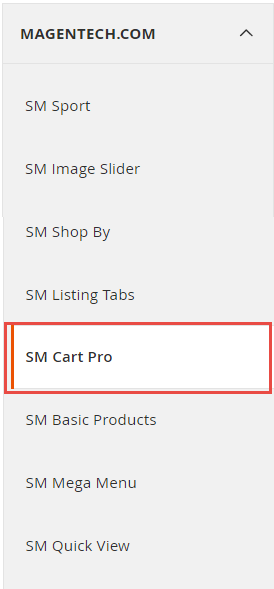
In SM Sport Administration Page, please navigate to Stores>> Settings>> Configuration >> MAGENTECH.COM to configure extensions as you want.
Here you can find all the extensions that you have imported successfully, so you don't need to add them. You only need to look at our layout position, check the name of the extension you want to edit and update their settings as you wish.
- Step 1. Choose any of them in order to get the access to the extension's settings. For example, please choose SM Cart Pro to edit
- Step 2. Edit the content as you desire: Please click here to view
- Step 3. Press Save Block button to save your configuration
- Step 4. Checkout the frontend to see the result. For example, the SM Cart Pro:


3.3.2 SM Megamenu
- Position: SM Megamenu
- Frontend Appearance
Horizontal Megamenu: 
- In order to add menu items, go to SM Megamenu >> Menu Manager >> click on 'Edit'to open Menu Items to add items as you want. Or you could edit the imported items in the mega menu list
3.4 Configure Static Blocks
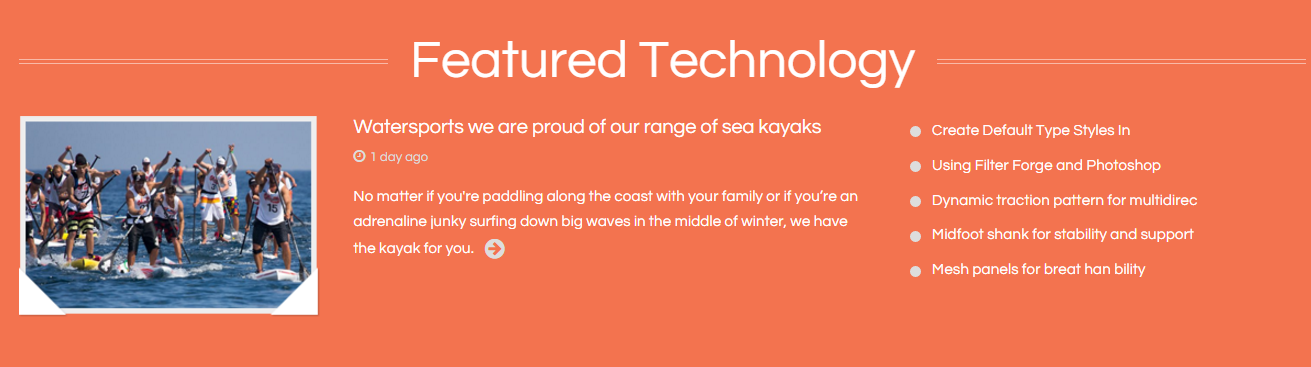
The SM Sport front-page has the following static blocks in the theme:
- Static Block: featured-technology
- Static Block: banner-home
- Static Block: block-banner-home
- Static Block: footer-free-shipping
- Static Block: footer-get-help
- Static Block: footer-orders
- Static Block: footer-join
- Static Block: footer-contact-us
- Static Block: logo-footer
From the top menu, please select Content >> Elements >> Blocks. Here you can find all the static blocks that you have imported successfully, so you don't need to add them. You only need to look at our layout position, check the identifiers of the static blocks you want to edit and update their HTML content as you wish.
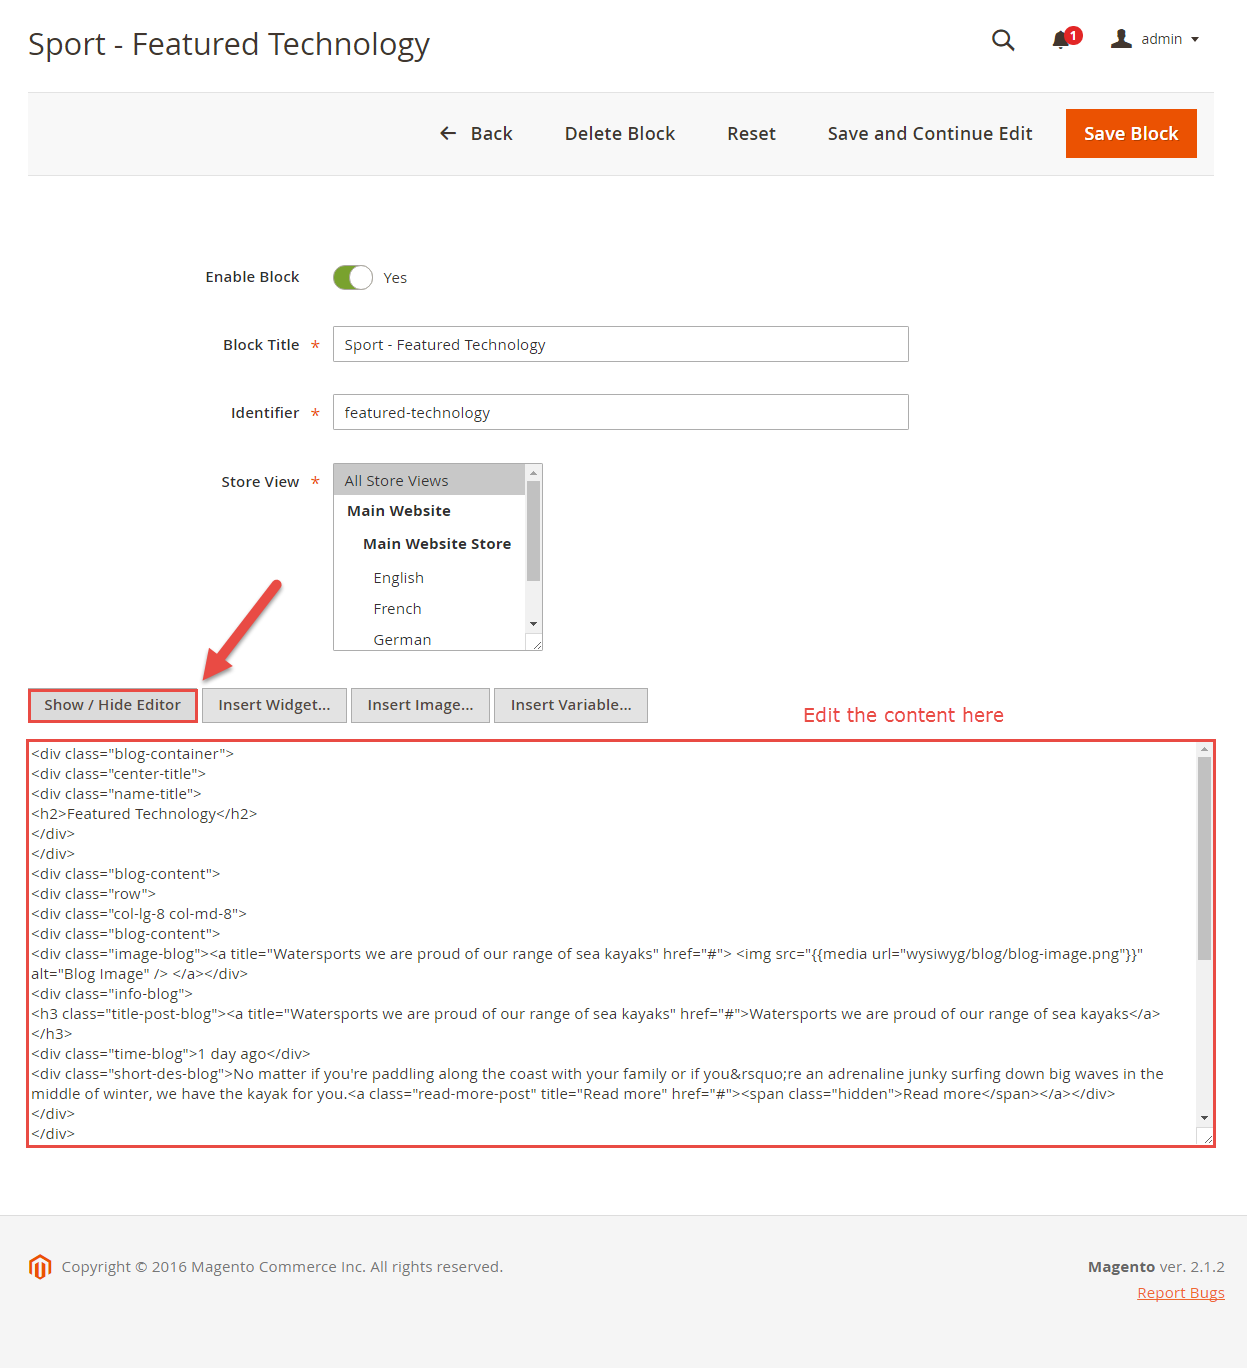
- Step 1. Open any of them in order to get the access to the content. For example, if you want to edit the static block of the static block having the identifier as featured-technology, please type the identifier in the search box and choose the block to edit
- Step 2. Edit the content as you desire
- Step 3. Press Save Block button to save your configuration
- Step 4. Checkout the frontend to see the result. For example, the horizontal mega menu:

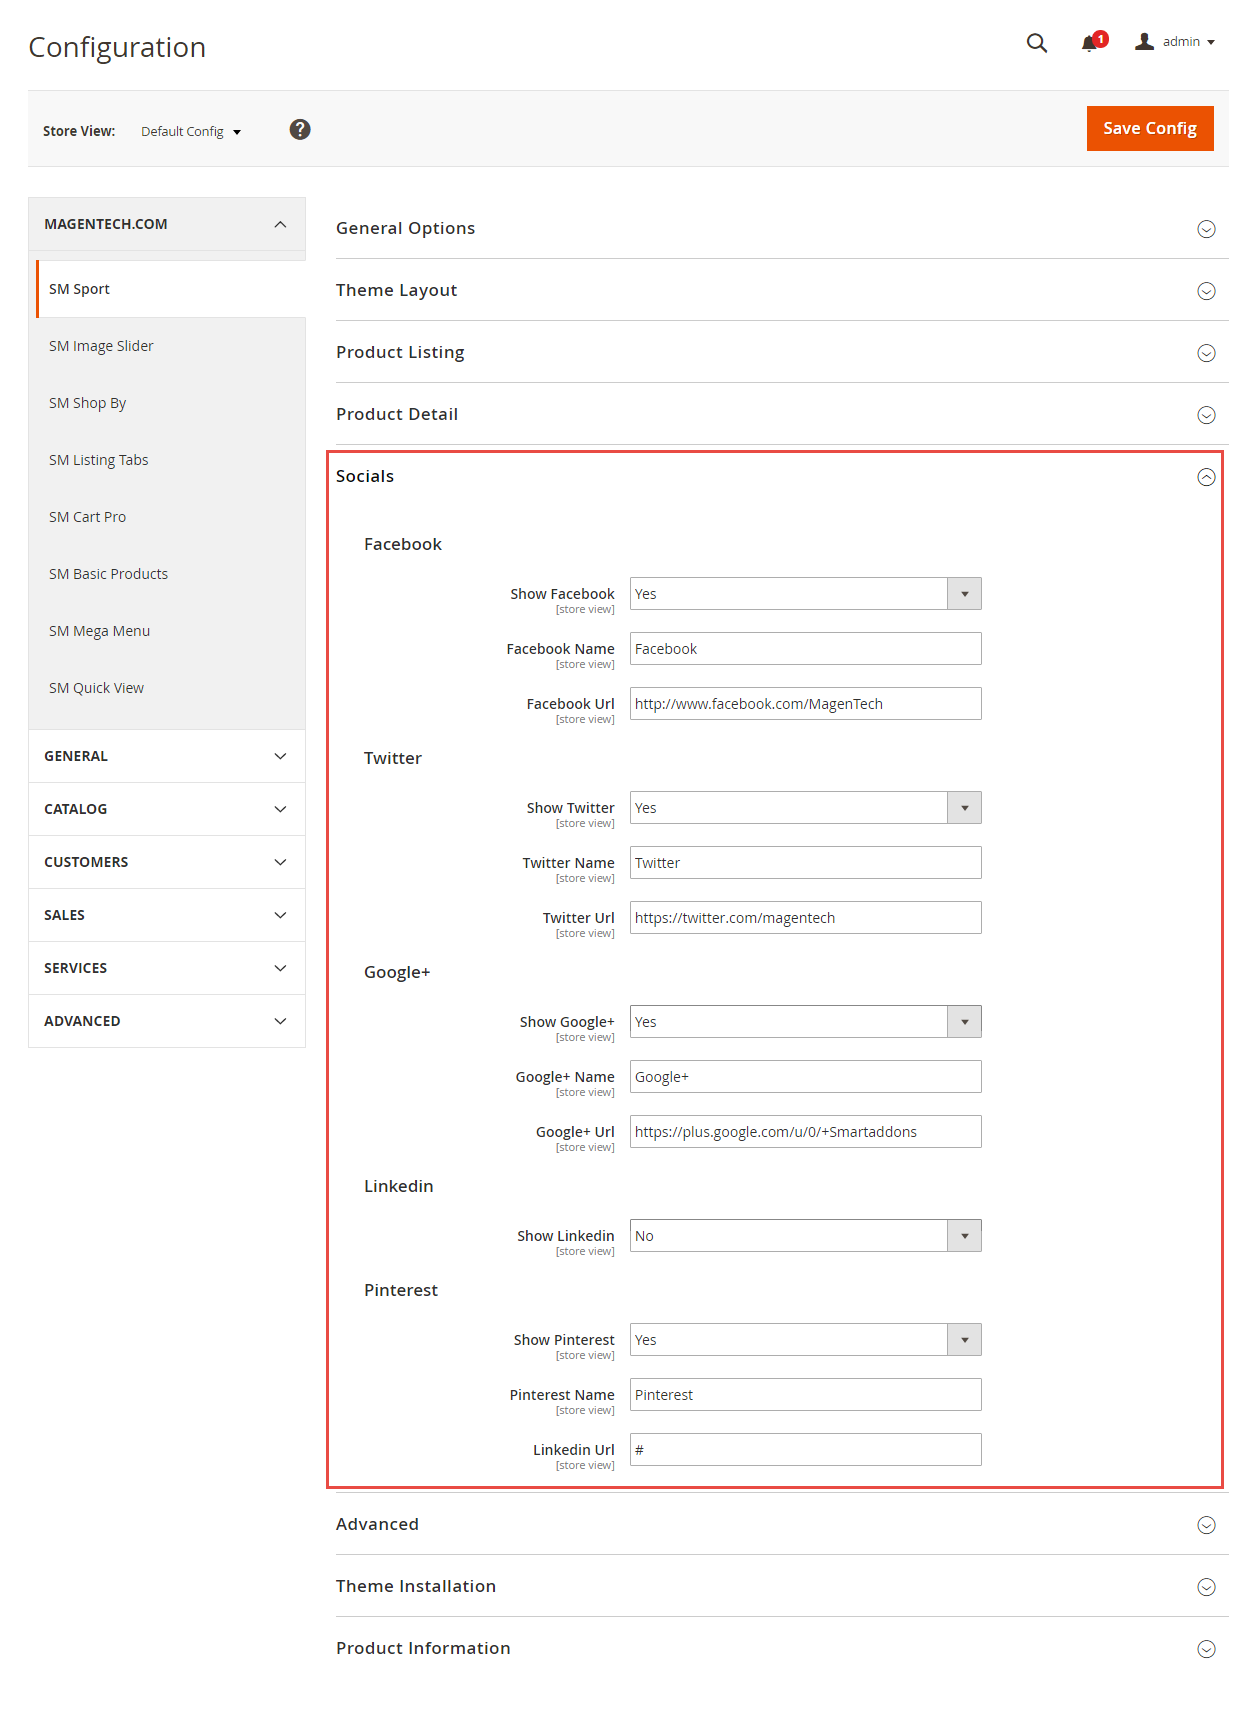
3.5 How To Customize the Social symbols in admin panel
Frontend Appearance
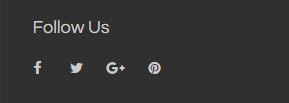
In SM Sport Administration Page, please navigate to Stores>> Settings >> Configuration >> MAGENTECH.COM >> SM Sport >> Socials.
4SUPPORT
- SUPPORT - If you have any questions that are beyond the scope of this help file, please feel free to send us via: Support Tickets System
- FAQs - Go to Here to view more the Frequently Asked Questions.