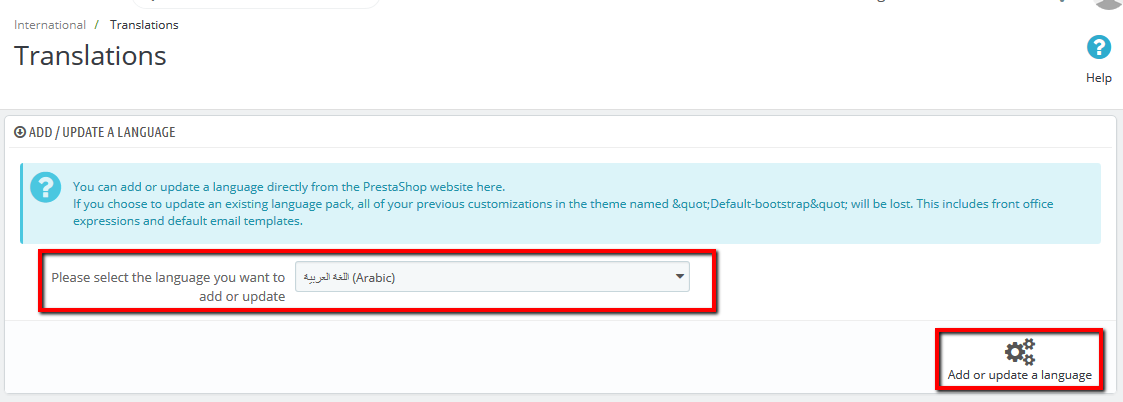
1. Add new Language
Step 1:
- In the Prestashop Admin Panel, navigate to IMPROVE >> International >>
Translations
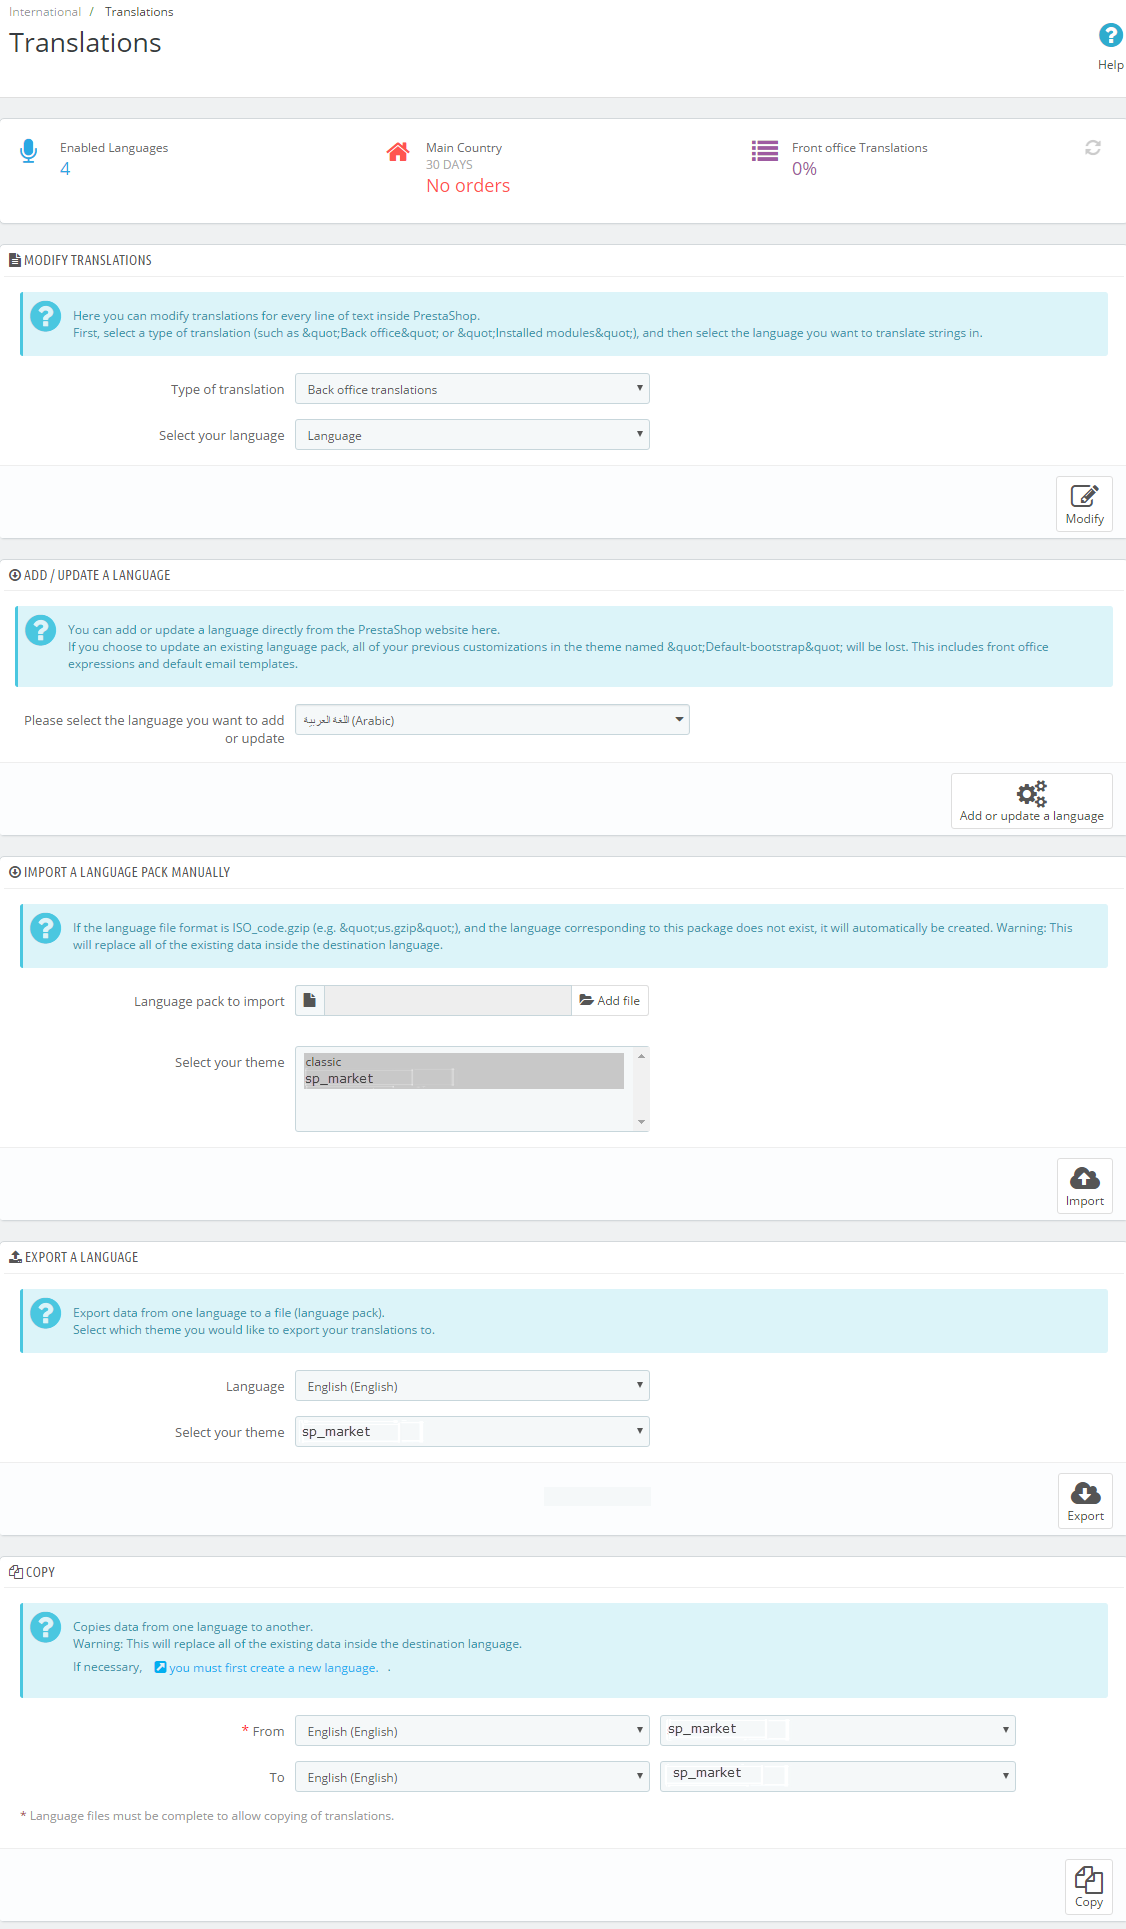
Step 2:
- At here, Scroll to block "ADD / UPDATE A LANGUAGE"
- Then, Select the language you want to add new, and click button "Add or update
a language"
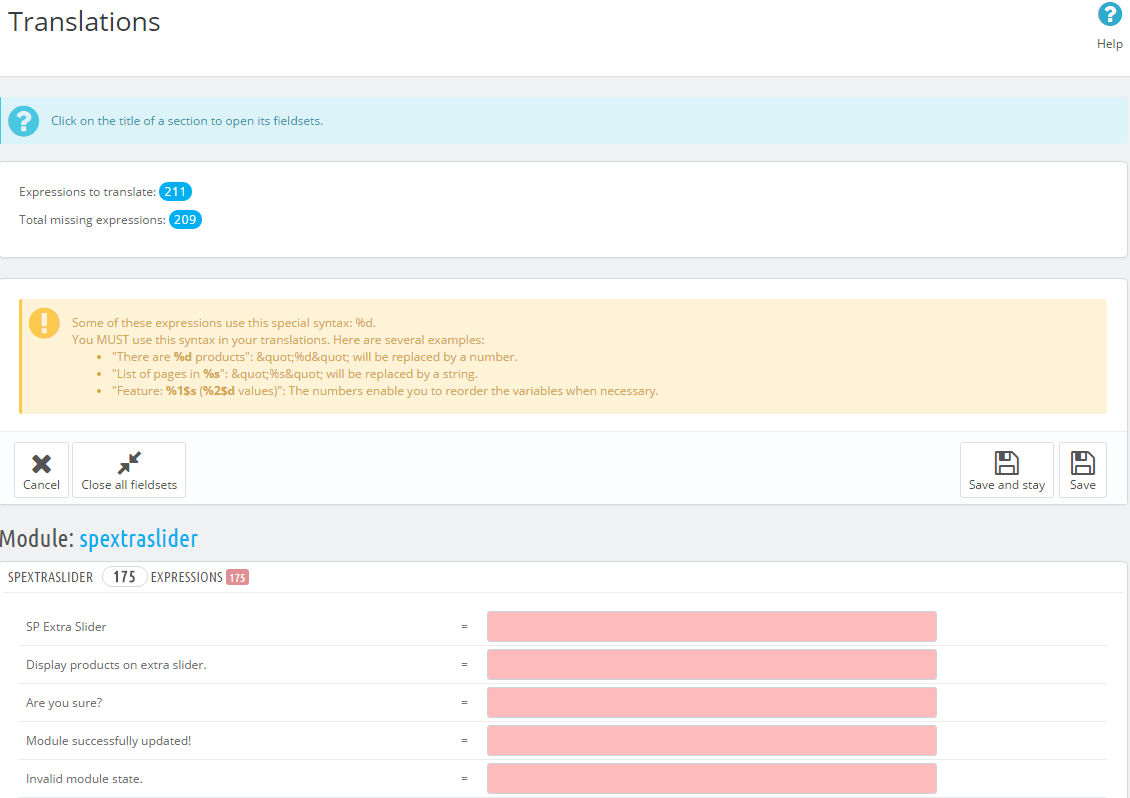
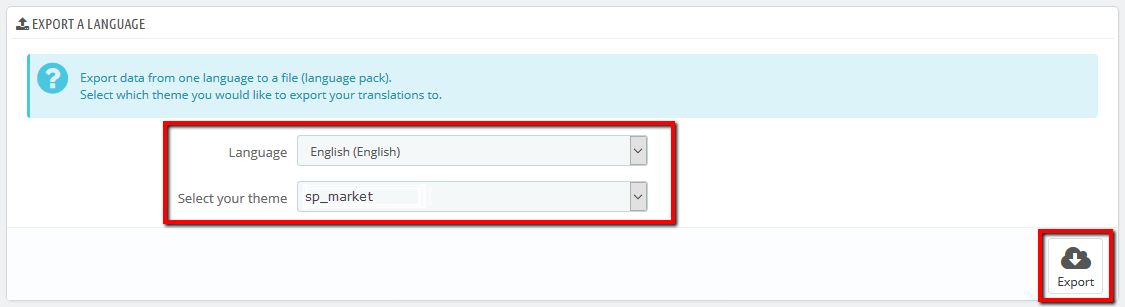
2. Export Language
Step 1:
- In the Prestashop Admin Panel, navigate to IMPROVE >> International >>
Translations (Same Add new Language)
Step 2:
- At here, Scroll to block "Export a Language"
- Then, Select Language and Your theme that you want Export, and click button "Export"
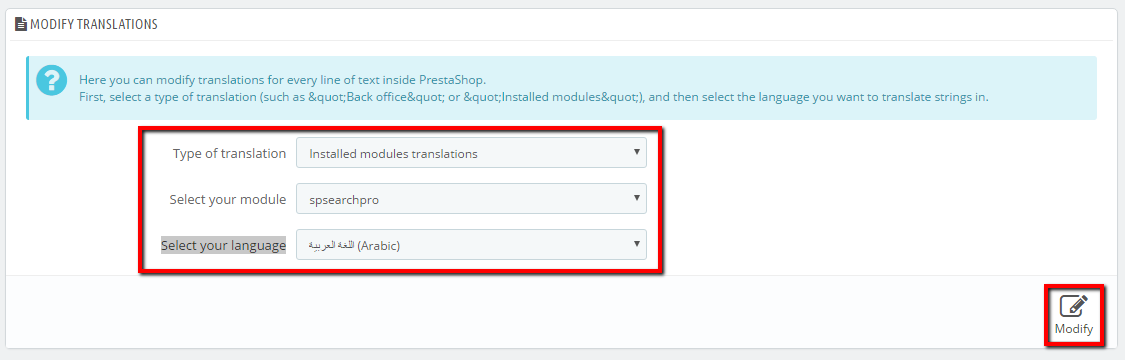
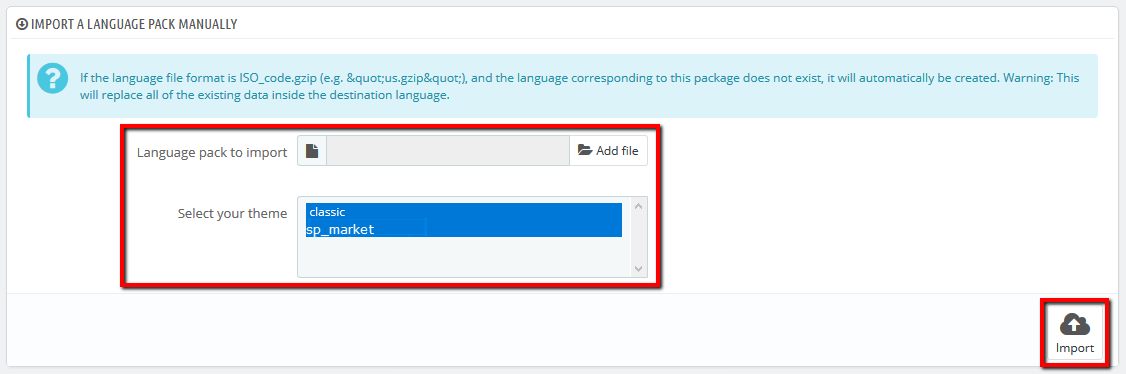
3. Import Language
Step 1:
- In the Prestashop Admin Panel, navigate to IMPROVE >> International >>
Translations (Same Add new Language)
Step 2:
- At here, Scroll to block "Import a language pack manually"
- Then, click button "Add file" and choose file language and select your
theme, and click button "Import"
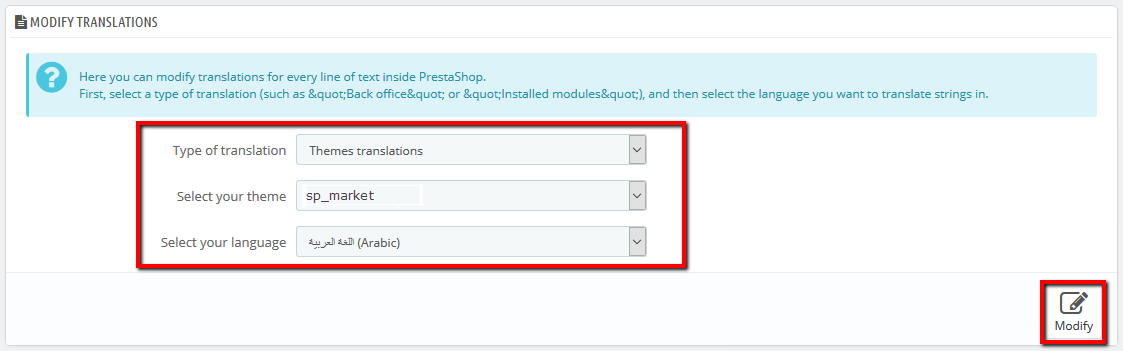
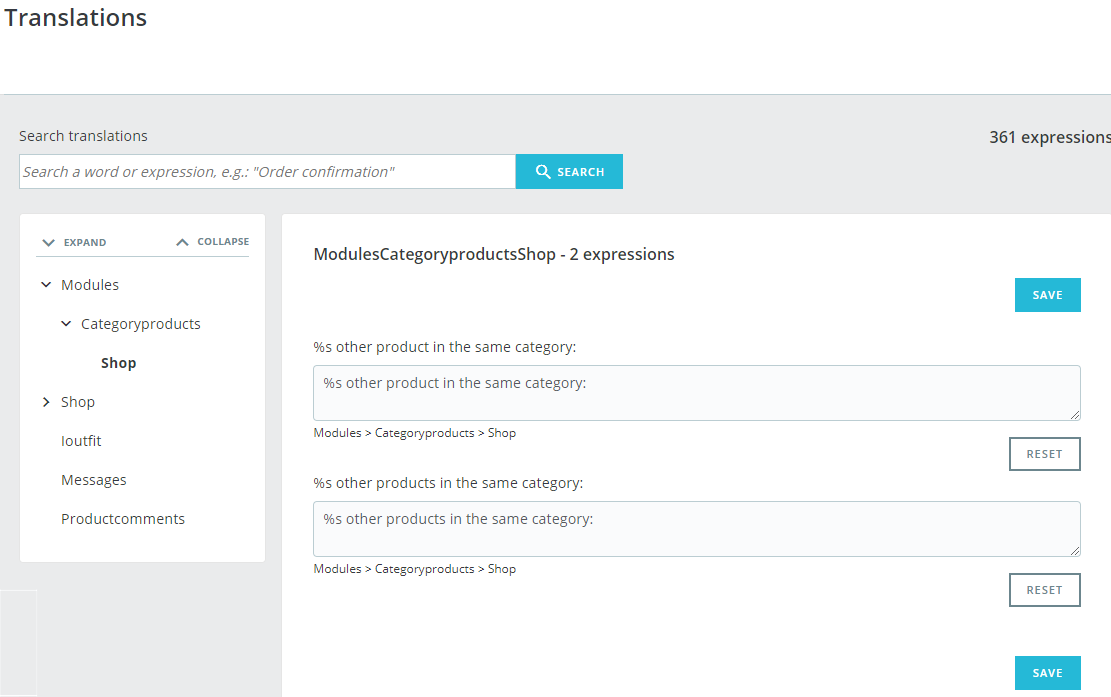
4. Management Language
Step 1:
- In the Prestashop Admin Panel, navigate to IMPROVE >> International >>
Localization, and choose tab "Languages"
- You can edit or delete language on your store
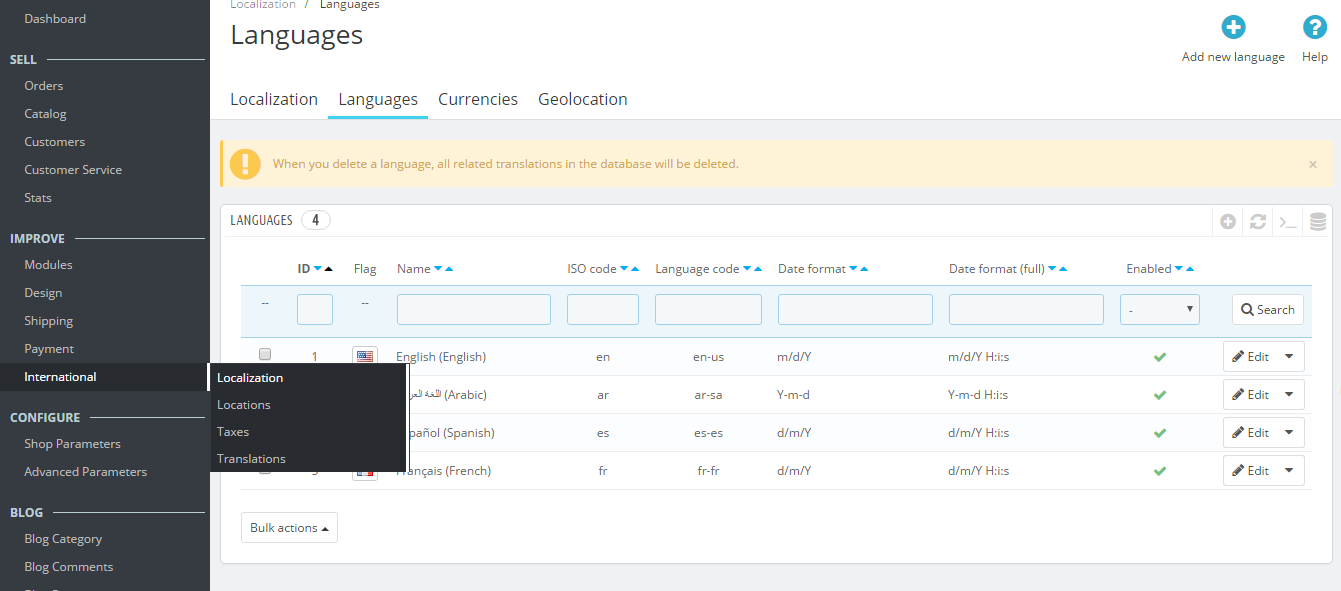
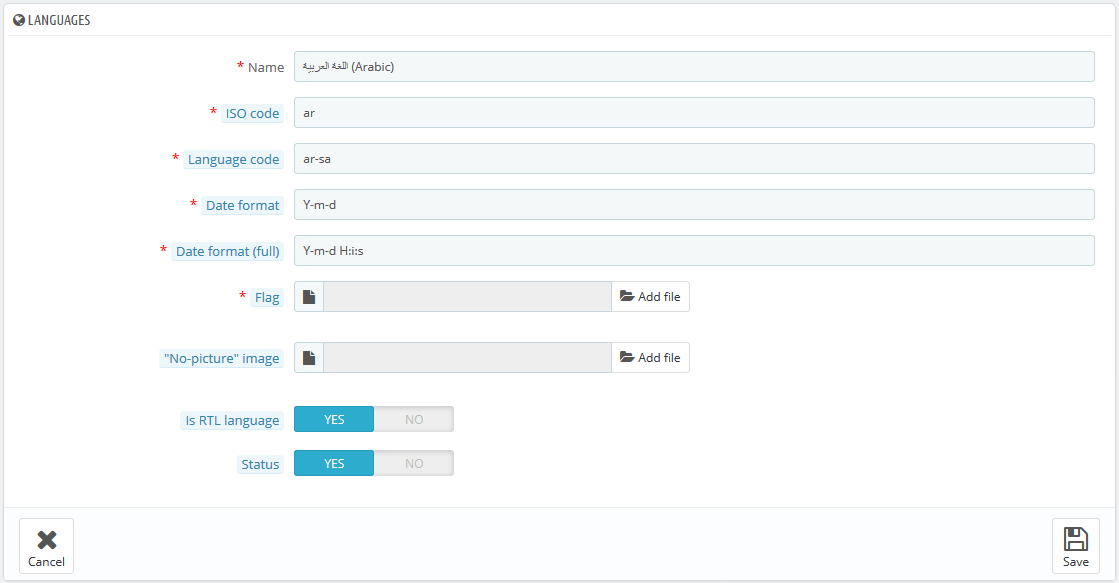
Step 2:
- If you want change language, click button "Edit".


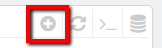 button in the right corner to
“ADD NEW”.
button in the right corner to
“ADD NEW”.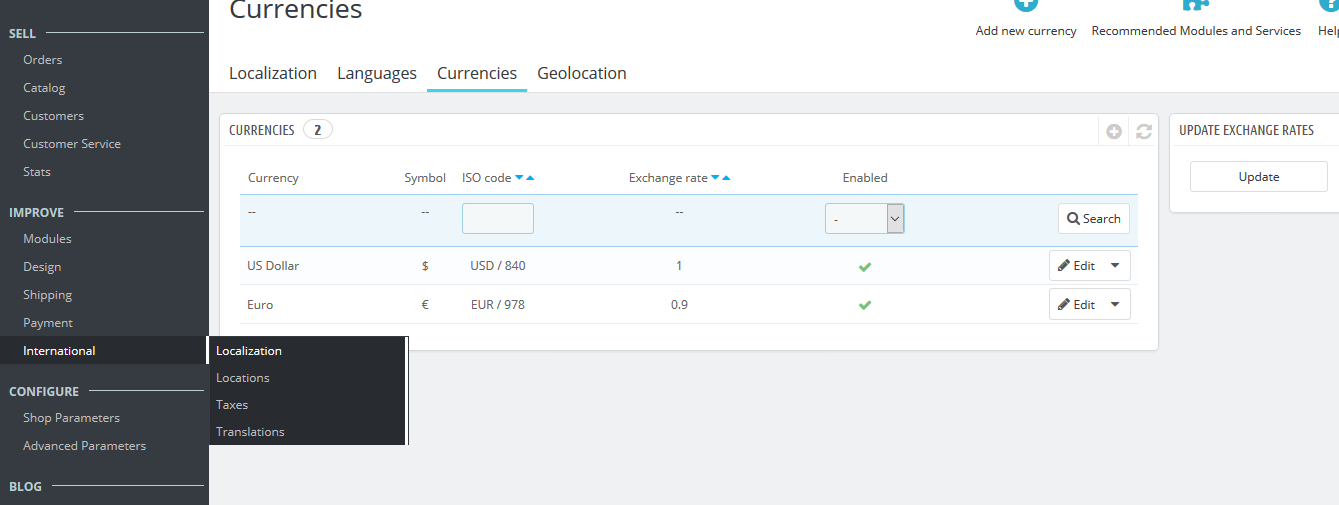
 in the right corner to “ADD
NEW”.
in the right corner to “ADD
NEW”.